

Hello Everyone!
In this blog you will learn how to setup VoIP server in the Vmware, For that I’m going to use trixbox 2.8.0.4 ISO image. Trixbox is one of the most popular Asterisk-based distribution. Trixbox CE includes CentOS Linux, MySQL, and all the tools needed to run a business quality phone system. It give us GUI interface to make configuration and to operate easy. It allow the user to to setup a voice over IP phone system and other necessary application.
What is VoIP
Voice over Internet Protocol (VoIP) also called the IP Telephony (voice over IP) is a method and technologies for the delivering of voice communication and multimedia sessions over internet protocol network. Reference
Ordinary phone –> ATA –> Ethernet –> Router –> Internet VoIP phone –> Ethernet –>IP-PBX –> Router –> Internet
Let’s get start!
Download the trixbox ISO image
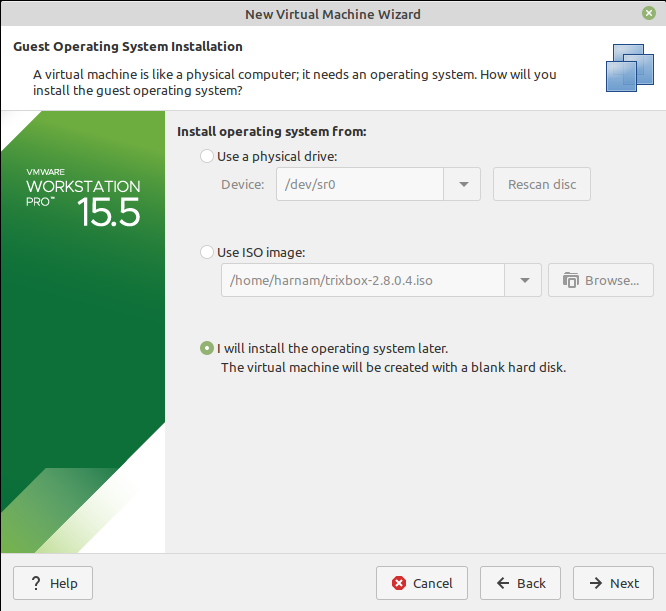
Open the vmware click on file and and click new virtual machine. This will show a new window click on I will install operating system later then click on next.
Now it will show you the another window select a guest operating system select the Linux option and select Ubuntu version and click on next, next and final click on finish.
Again click on Virtual machine setting to open the setting and click on CD/DVD and choose the ISO file “trixbox 2.8.0.4”. In the Network Adapter setting Select the Bridge connection and Click on finish.
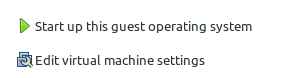
click on Start up the guest operating system to start the trixbox.
It will start booting automatically and trixbox CE installation below steps:

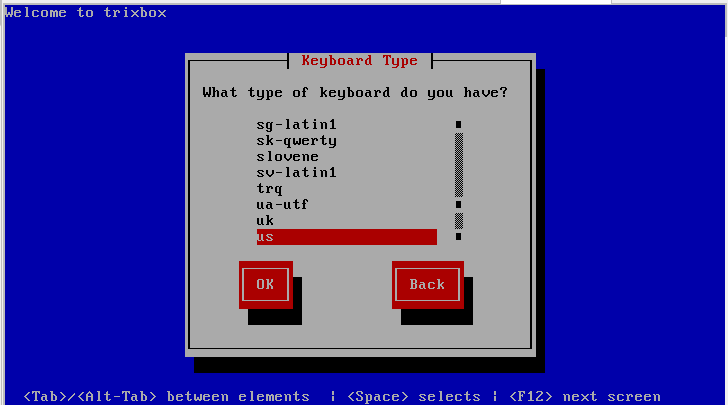
Once you need to enter on this screen after that it will show you a dialogue box to select the Keyboard Type select the US option and hit enter.
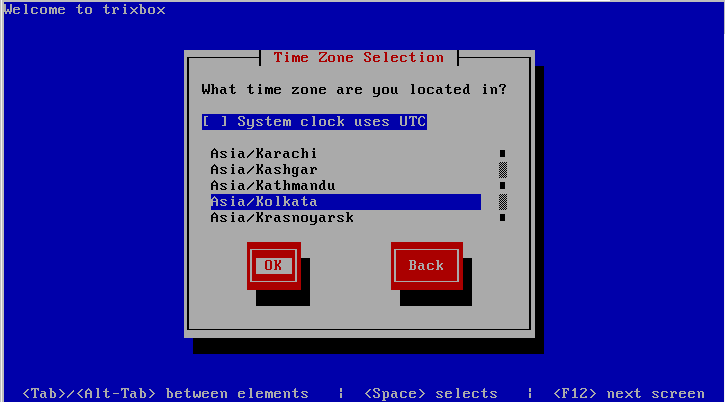
Again it will show you a dialogue box to ask you to select the time zone you can select according to your zone. I’m selecting the Asia/kolkata
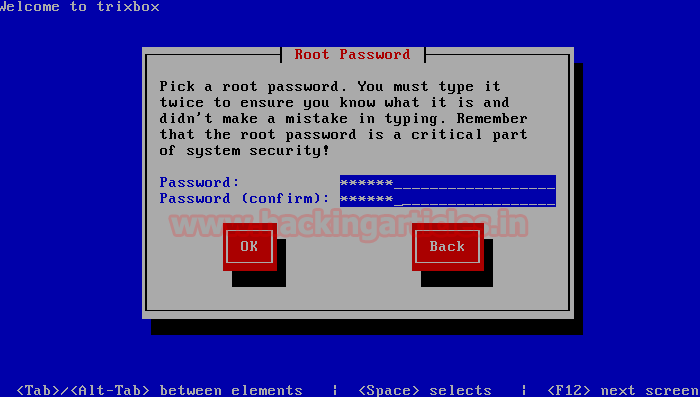
Now for the root user we need to enter the password 2 times and click and ok
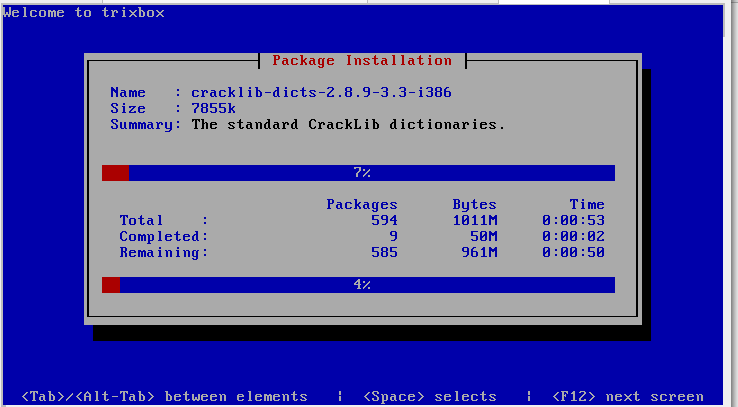
Now the installation will take some time, it will install all the dependencies till that be patient.
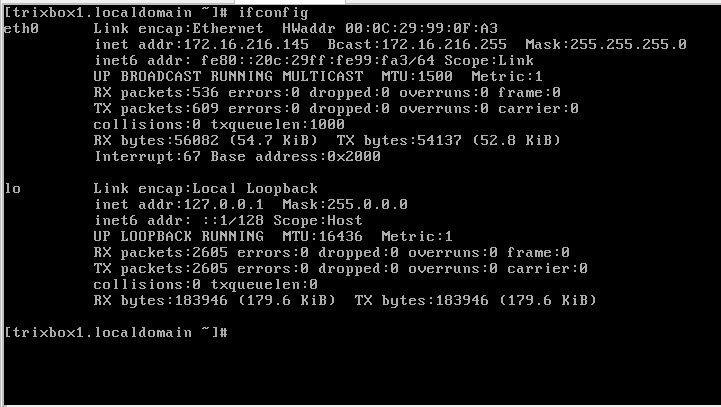
After successfully complete the installation it will ask you to login . Login username:root password the you give while installation, in my case password:admin1

after login check the ip address
Open the vm window (window 7, 10 ) browser and enter the the ip address it will show the trixbox interface.
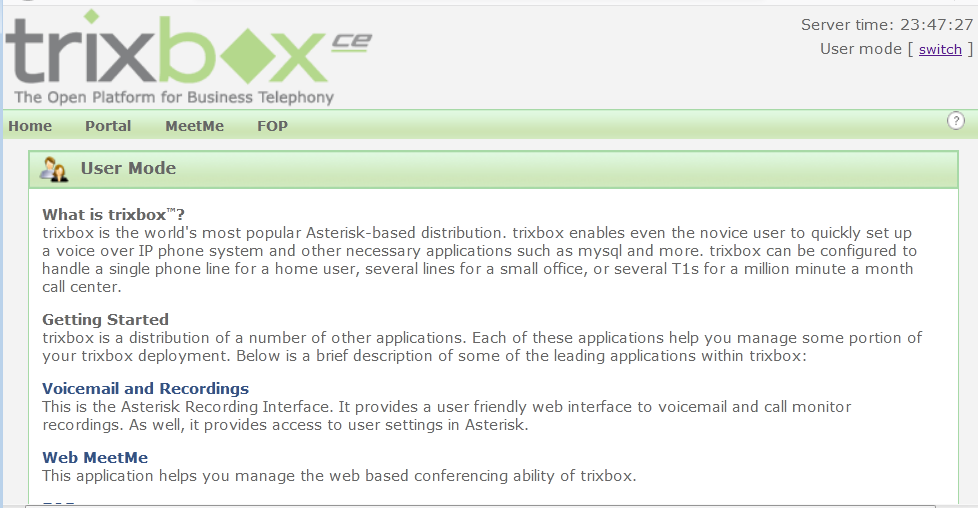
Now we need to create the user account by assigning the extension number for that we need to switch the user mode to admin mode by click the top right corner.
when we click on switch for admin mode we need to enter the credential the by default credential is username-maint and pass- password enter credential to get into the admin mode. when you login the admin mode a dialogue box will popup for registration we don’t need to register just close it.
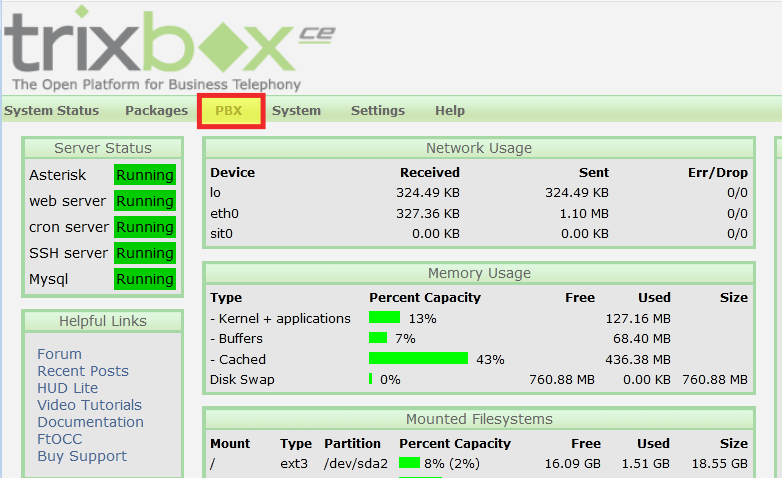
This is the trixbox admin interface. now click on now click on PBX option and select PBX setting option from the menu.
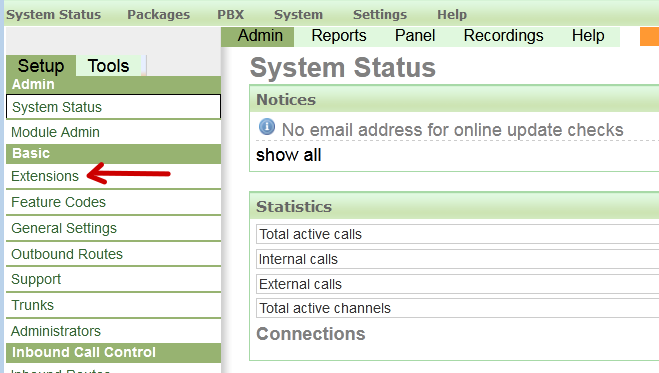
Now click on extension that highlighted in below image
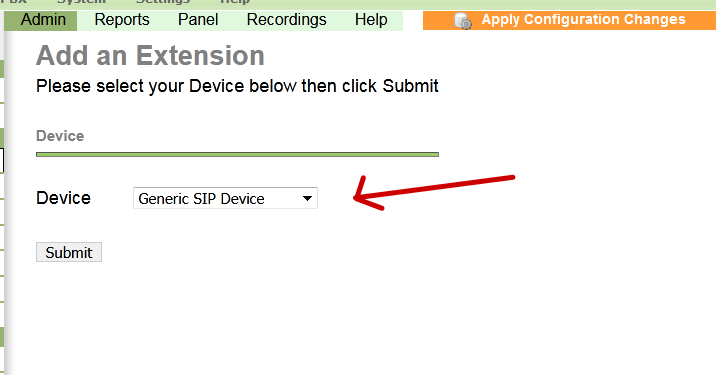
now we need to create the extension inside the server select device generic SIP device and click on submit.
After device setup add the extension
user extension: any 7-8 digit number (later on we will use as a phone number to make a call )
Display Name: any user name we can give

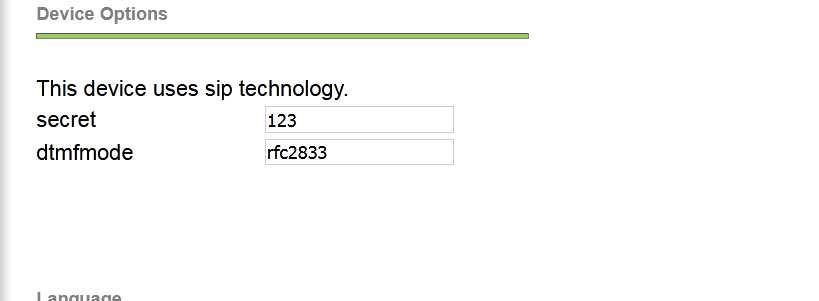
Add the Device option
secret 123 and dtmfmode: default (rfc2833 ) Click on submit.
Same as add one more extension, we can add multiple extension we this time we need only two extension.

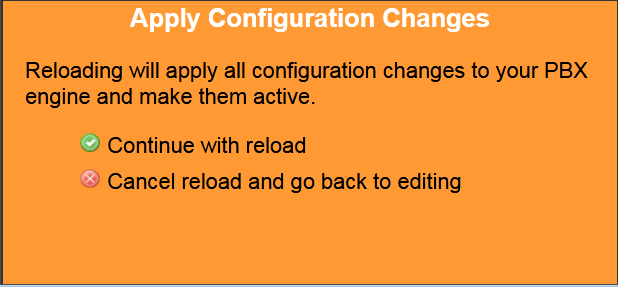
We add the extension for caller and receiver one is Secoceans and 2nd is Technology with number. Now we need to save the configuration for that click on yellow option apply configuration changes. again it will show a yellow popup click on Continue with reload. Extension is successfully added.

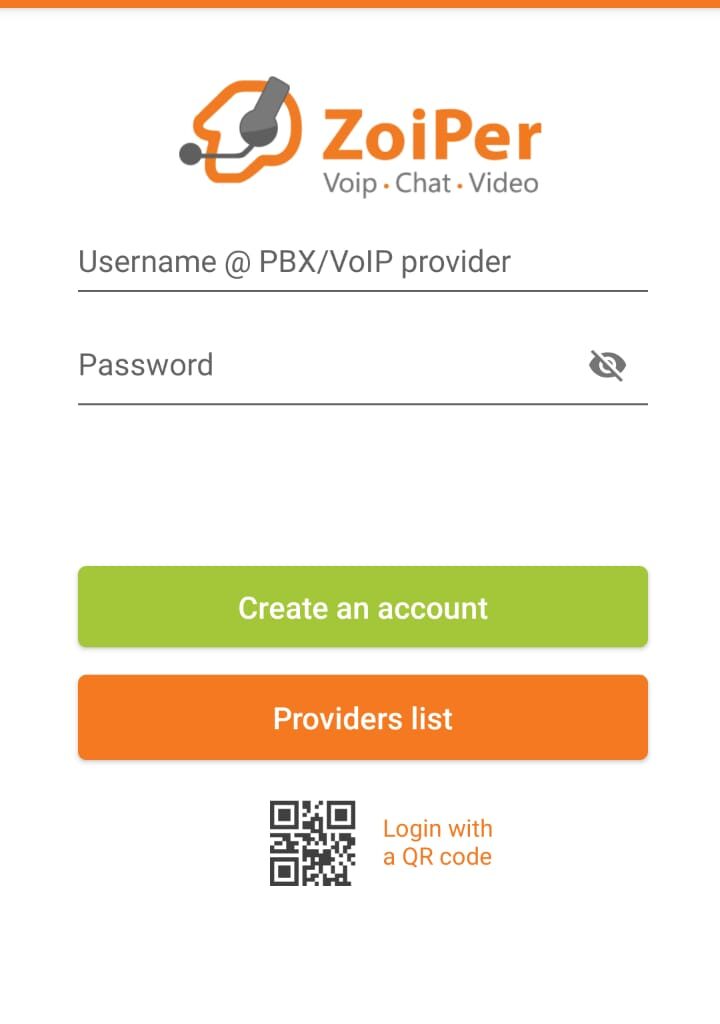
Now download the ZOIPER application for making and receiving call.
Zoiper is software program (softphone) with that user can make voice call video call, chat etc .. So here we are using the 1 zoiper in our system and 1 in our phone for making and receiving call . One its download we need to configure the it.
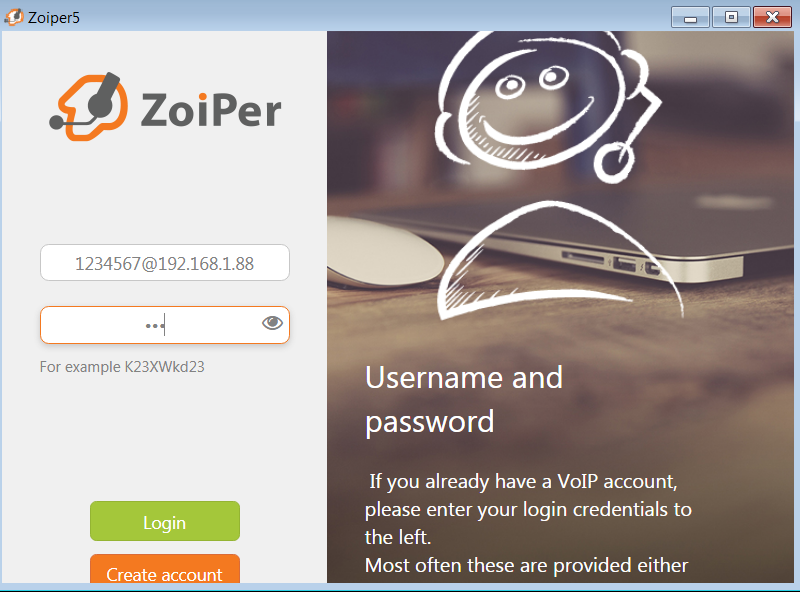
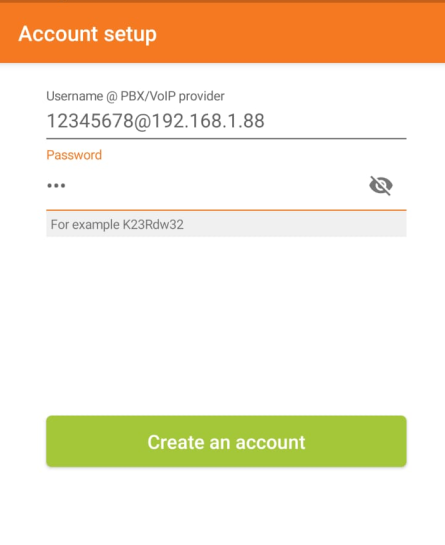
One it installed it will show a popup click on free account then next after that enter the credential:
extension number@server ip [email protected] and password 123 click on login.
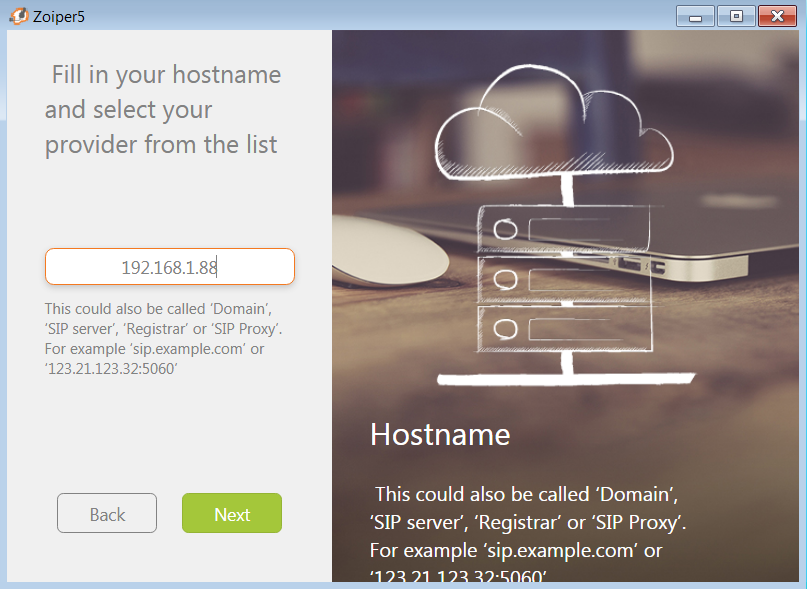
It will detect the server IP automatic click on next.
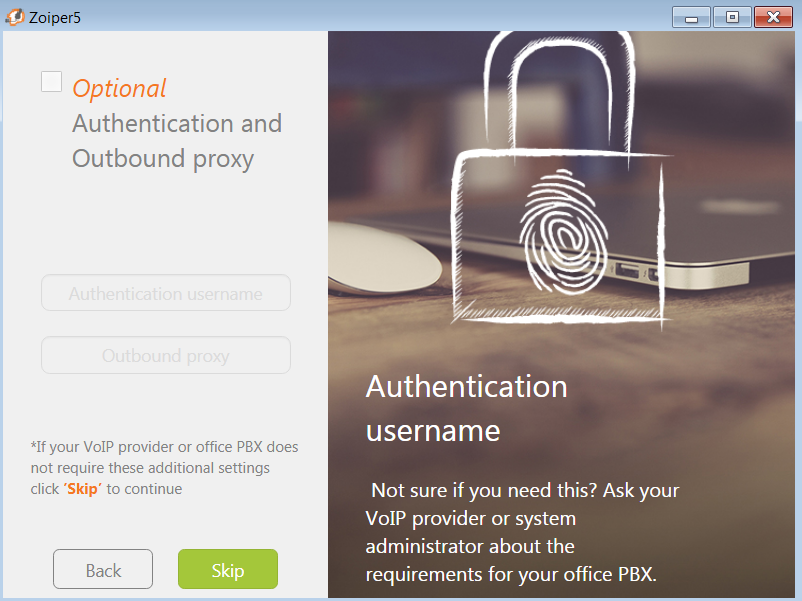
Skip the Authentication and outbound proxy
Account 1: Username: Technology Phone number 1234567 password 123
Now Zoiper is ready to make or receive call in the system .

Install zoiper in the phone and configure it as we configured in the system.
Use Account 2: Username: Secoceans phone number: 12345678 password:123
Enter [email protected] Pass- 123
Enter the user number and IP and click on create account
Zoiper is ready to use for make and receive call.
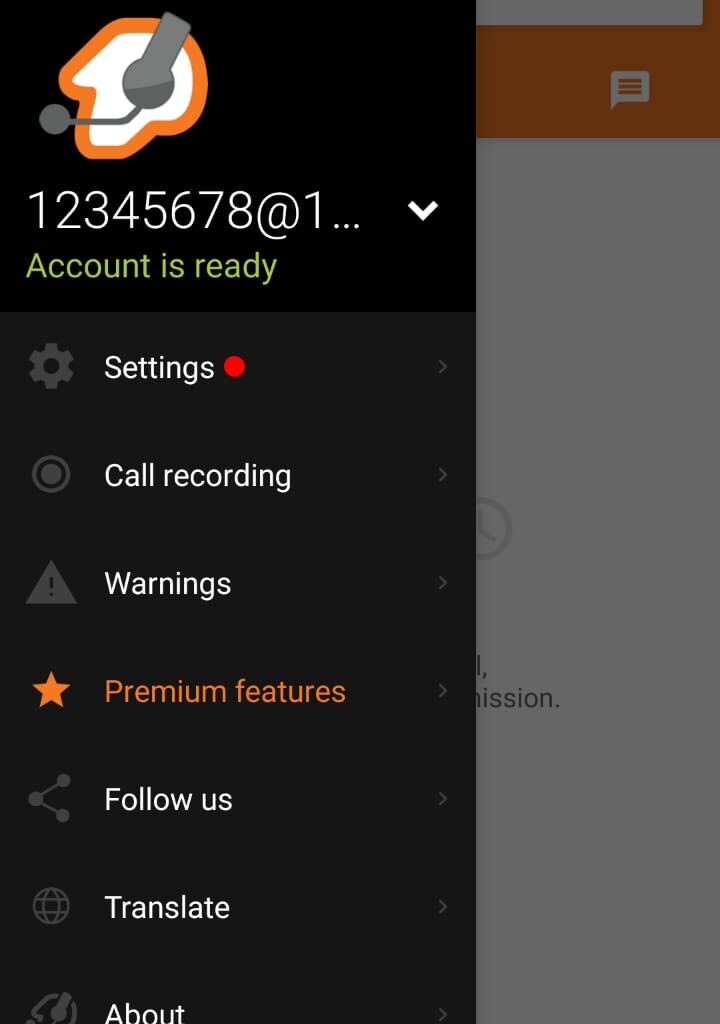
Both Zoiper account is ready to use.
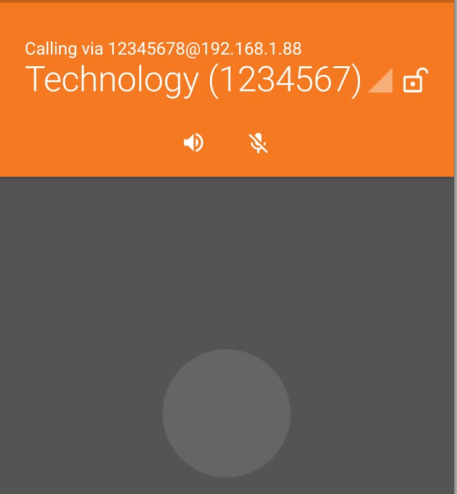
Lets make call from account technology 12345678 –> secoceans 1234567
calling from account 1 Technology 12345678 (from android phone ) –> account 2 secoceans.
secoceans is geting an incoming call on the system as shown in the given image. Click on an answer for accepting a call from technology.

secoceans received the Technology call, call is connected and both are having conversation over the VoIP call.

We configured the VoIP server on the local network , now we can make voice call, video call , or chat over the VoIP call.
Video Poc
Thanks for Reading !
Follow us on LinkedIn, Facebook, Twitter .